How to Import Brushes into Procreate 7 Easy Guides for Beginners
How to Import Brushes into Procreate: Are you looking to add more variety and texture to your artwork in Procreate? With the right brushes, you can take your digital paintings and illustrations to the next level.
But how do you get those new brushes into Procreate? It’s easy! In this tutorial, we’ll show you step-by-step How to Import Brushes into Procreate so that you can begin creating amazing art with a wide range of tools. So let’s get started!
1. Download the brushes you want to use
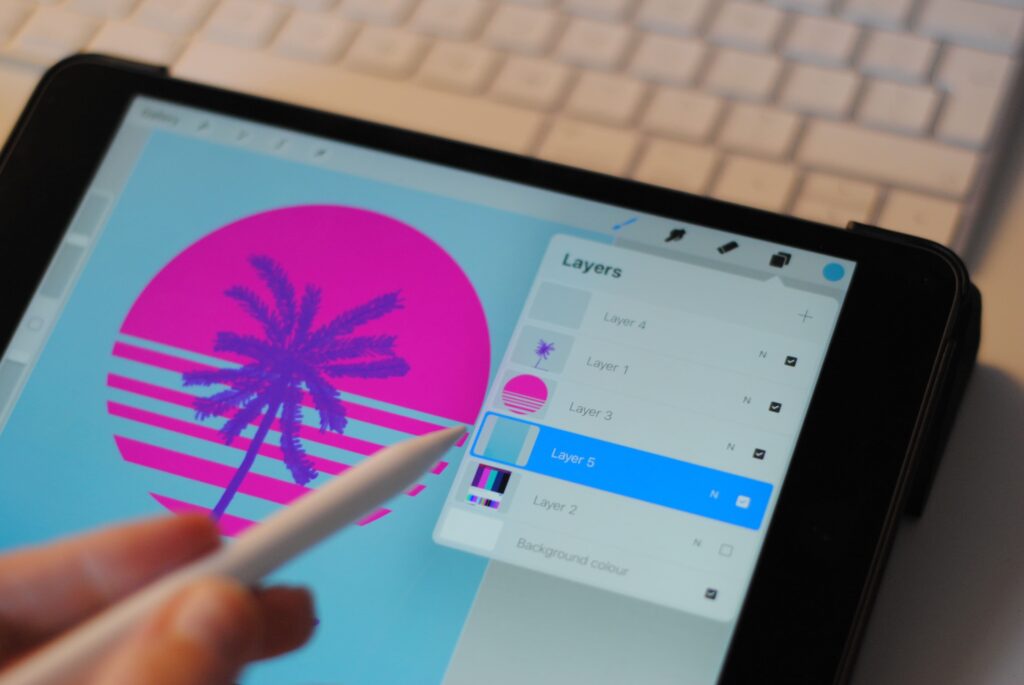
To get new brushes in Procreate, first, you need to download them. You can find custom brushes online from a variety of different websites, many of which offer free downloads. Once you’ve found the brush set you want to use, make sure to download it in .brush format.
You can Download the Free Procreate Brushes form Below
2. Unzip the brush files and locate them on your device
Once you have downloaded the brushes, unzip them. You will find them on your device. On Mac, they will usually be located in the Downloads folder. On Windows, you can find them in the User directory (C drive).
3. Open Procreate and go to the Brushes menu
Launch Procreate on your device and open up the Brush Library by going to the Brushes tab at the top of your screen. You will see a list of the brushes that are already installed in Procreate.
4. Tap on “Create Brush”, then select “Import”
To get new brushes in Procreate, go to the Brushes menu. Tap on “Create Brush” and then select “Import”. From there, you can choose the file or folder of brushes that you want to import.
5. Select the brush file from its location on your device
In the last step, choose the brush file from your device where you saved them. Now, your brushes will be imported into Procreate and you can start using them right away.
Congratulations! You have now successfully imported custom brushes into Procreate. Now you are ready to create some amazing artwork with a wide range of textures and tools at your fingertips. Enjoy!
6. Adjust settings as desired in order to customize the brush further
Once you have imported the brushes, you can change how they look and what they do by adjusting their settings. Tap on the brush to open up its settings and start customizing it as desired. You can adjust the size, shape, opacity, pressure sensitivity, and many other settings to create the perfect brush for your project.
7. Save the brush set for future use
Once you have created your custom brushes in Procreate, you can save them as a brush set for easy access in the future. In the “Create Brush” menu, tap on “Save as Set” and give your set a name. This way, whenever you want to use these brushes again, they will be easily accessible in Procreate.
Now that you know how to import custom brushes into Procreate, you can start creating amazing art with a wide range of tools and textures.
Have fun!
Special Procreate Brush Bundle Sale!
If you are really interested in Procreate you can check is this amazing Creator XL Bundle for Procreate App By VisualTimmy.
Save 15% Off This Massive Bundle of Procreate Brushes!
While you’re working on your new projects, why not explore some new tools for Procreate?
Now you can buy the Creator XL Bundle at a 15% discount you have to apply the Code “CITY15” for an additional 15% off.
With over 400 brushes and 60 color palettes, this bundle has everything you could possibly need to create in Procreate!
Check it out now!
Conclusion
There you have it — a step-by-step guide to How to Import Brushes into Procreate.
Now you have all the knowledge necessary to take your digital paintings and illustrations to the next level.
Enjoy creating stunning artwork with these new brushes!
